Making a bowl or vase from a cutting board technique
Here is a fun project that is similar in many ways to the cookie method only easier and simpler. This particular method has a very high ‘ou aha’ factor with not any real high degree of difficulty and really looks great. Also it has may variations and twists and turns to keep your work original and dynamic.
It difers from the cookie method in that it is simpler. You do not need to angle your rings to make one bowl from one cookie, rather you can make lots of material and create and harvest as many rings as you wish to get the forms and shapes you want.
The down side of this method is end grain. Yes, unfortunately you will be turning end grain with this process, but there are some woods that lend themselves to this better than others so pick your material with that in mind.
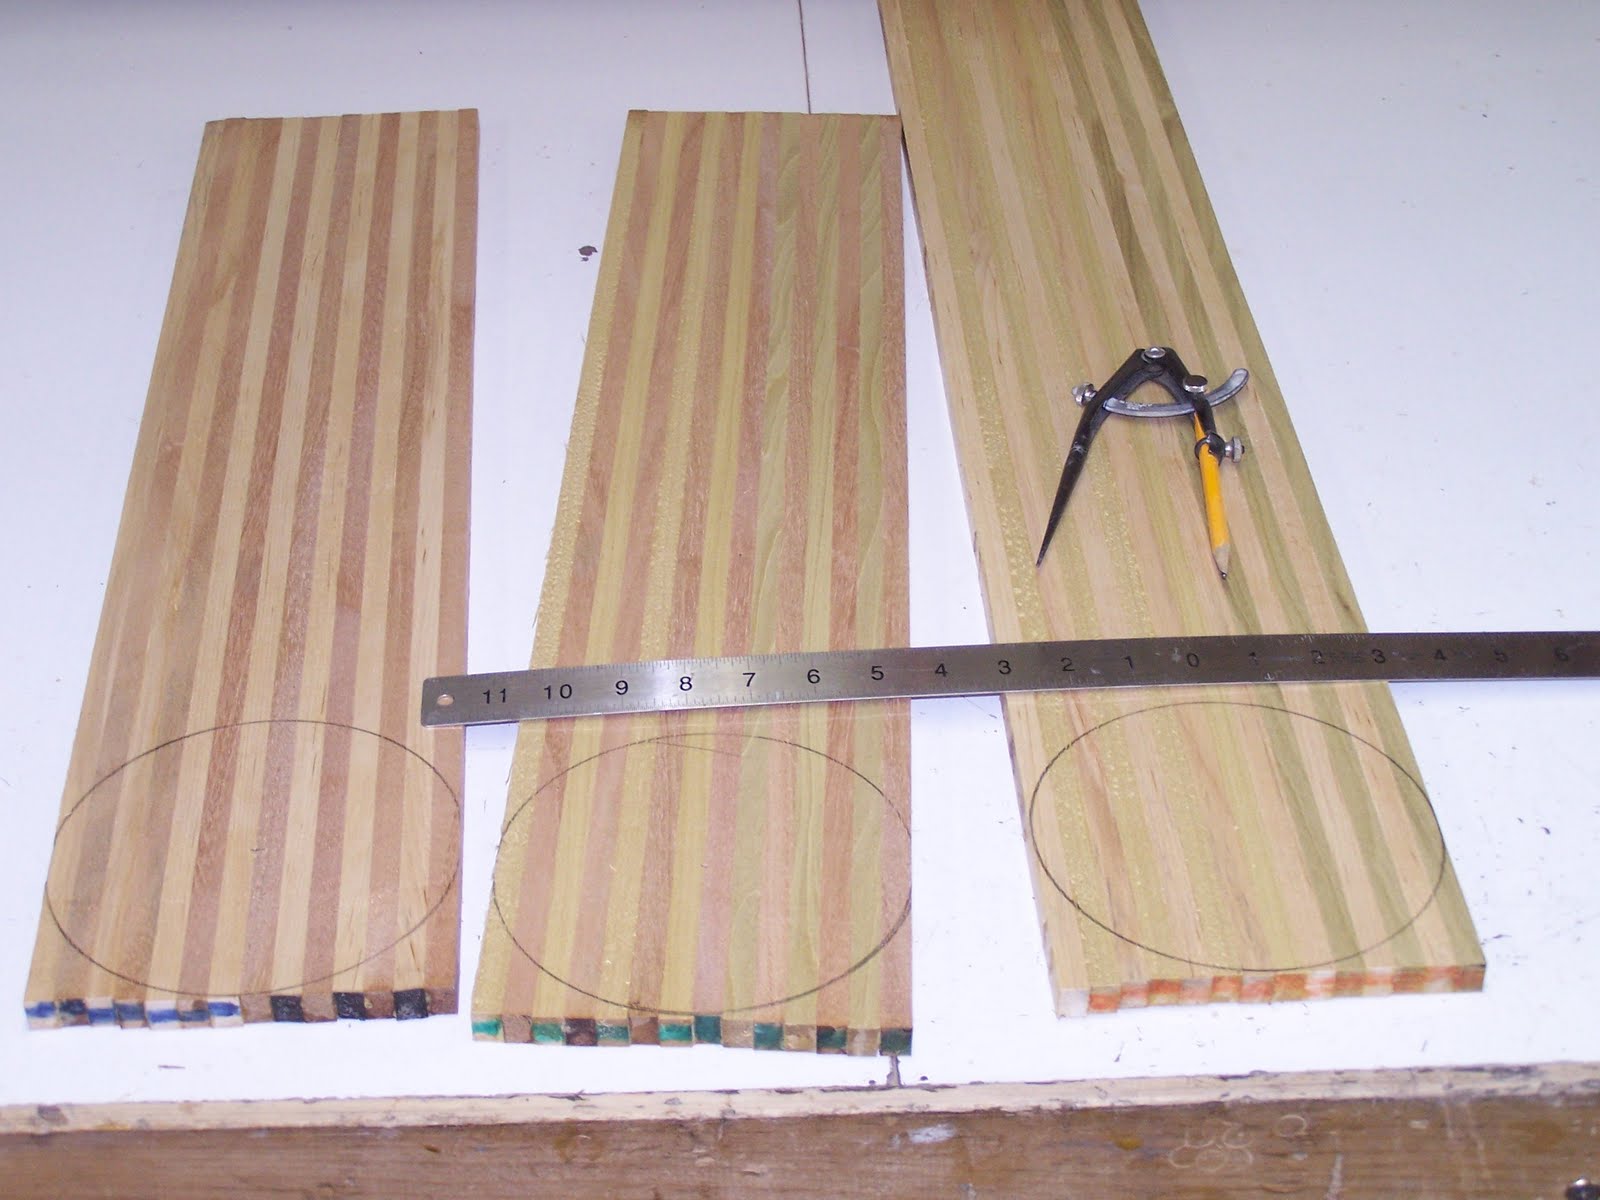
The making of the cutting boards is basic so in a picture here is the process.
Cut lots of material same width and length

Glue it up and make a cutting board, or many of them. They will become your material.
 Mark them up with the sizes of your rings making sure to leave enough room for the blade width.
Mount your rings to a backing board of MDF attached to a face plate. The backing board will help reduce the blow out when your tool goes through the back side of the material.


to insure accuracy Make sure your potential wall thickness is adequate.

Get funky with the alignment of the stacking and glue it up in two’s and then on the lathe


Simple, easy to work with and no math, my kind of project.
Enjoy, Steve
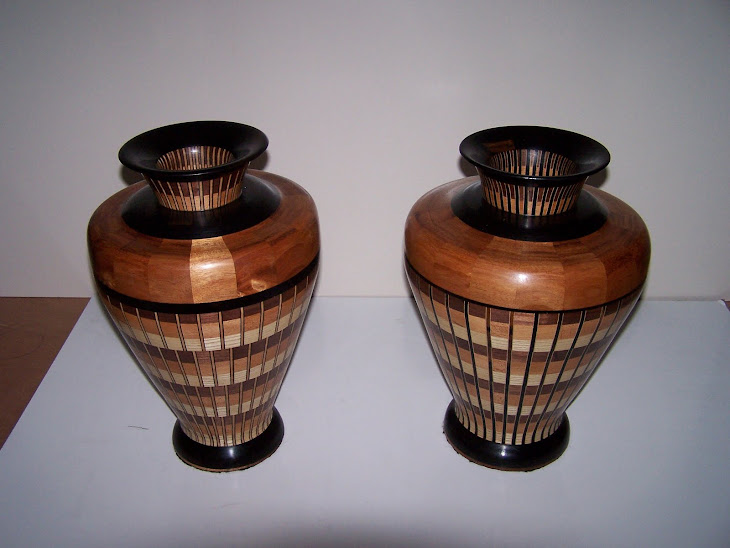
 I had so much fun with this cutting board thing that I decided to try another project. This time I used 3 types of wood and combined them in pairs. One vessel (weed pot design, 12 inch height , 7 inch diameter) of mahogany and poplar, one of poplar and birch and the third of birch and mahogany. I used ebony bases and tops. We will use pic's to show the process since we have been here before.


 Here I have taken the bottom and inserted a plug in order to sign and date. The ebony will not show any detail so this is important. It is always important that you sign and date your work. Your grandchildren will thank you for it.